
this blog contains affiliate links
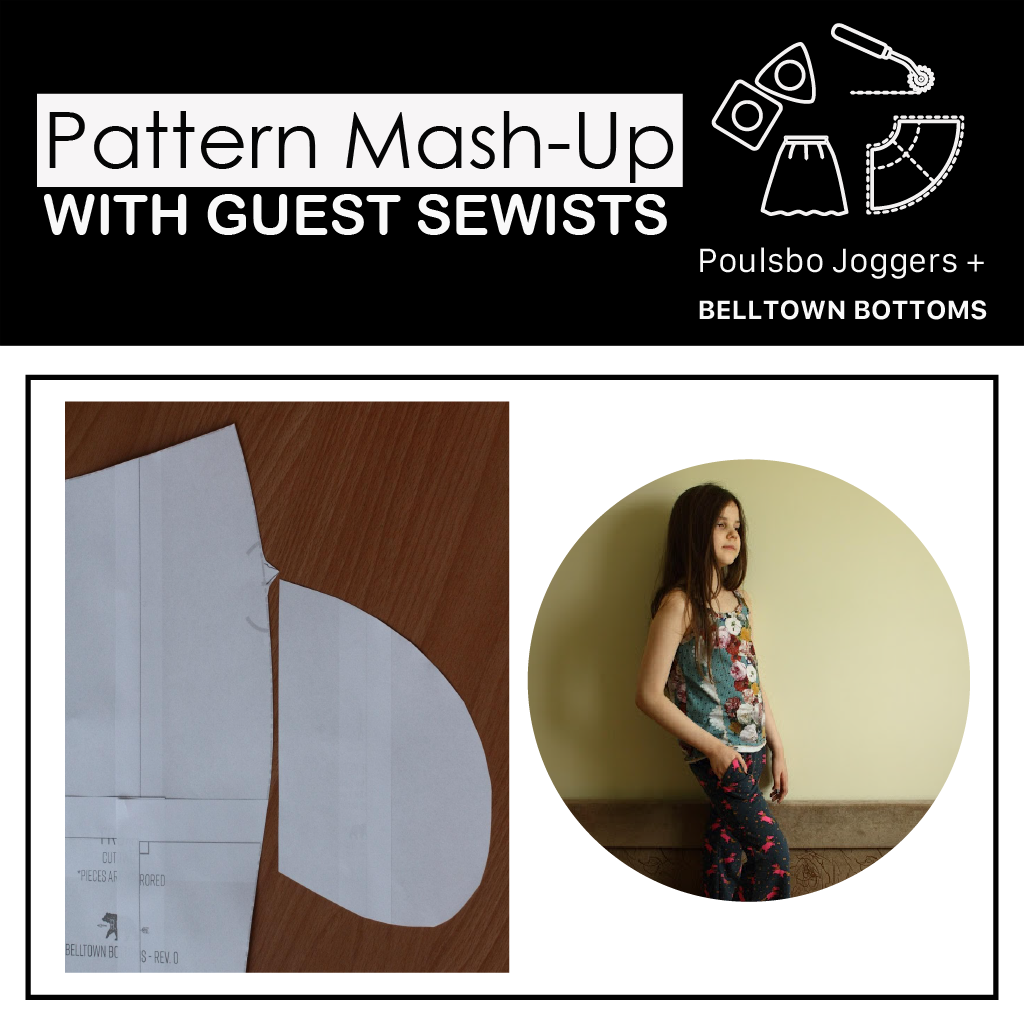
Guest Sewist: Jess (@jessawilcox)
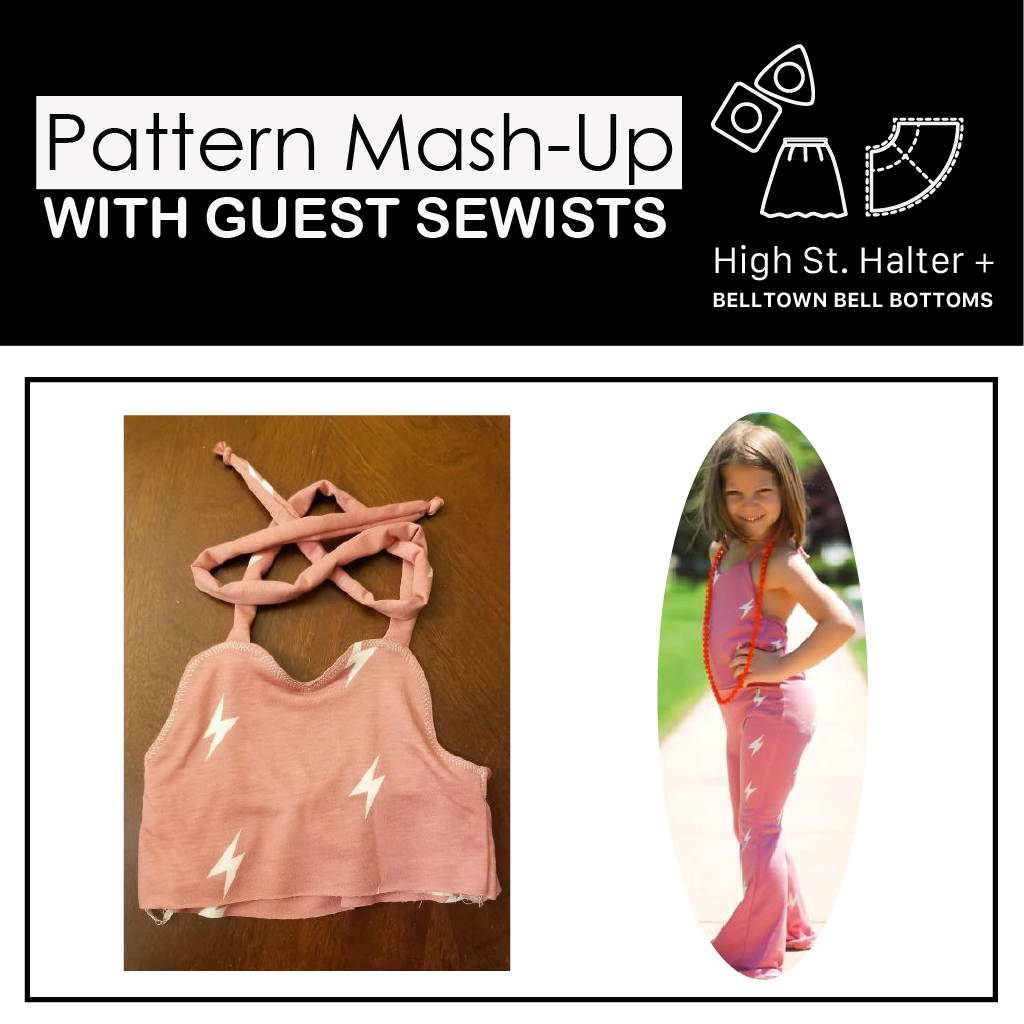
Ohhh y’all, I was BORN in the WRONG decade! I’m a Xennial but I should have been a flower child---bell bottoms are my JAM, man! When I saw the Belltown Bells, I was so jelly they weren’t in my size, lol, but at least I could make them for my kiddos! Then I saw the High Street Halter and couldn’t help but imagine them together. So LOOK AT THIS!!

Halter + Bells = Pure Awesomeness! And it was SO EASY to sew up! Lemme tell ya how I did it.
First up! You need the High Street Halter pattern AND the Belltown Bells. Obviously.
Next! Measure your model from shoulder to natural waist and then from natural waist to floor (Or wherever you want your bells to hit. Compare those measurements to the finished measurements in the patterns to choose your sizes. This SHOULD be close to your model’s normal size, based on height, but some kiddos have longer torsos than legs, vice versa, etc. Now, don’t make the same mistake *I* did and forget the finished length on the Bells included the waistband. My muslin ended up being 2” too short, but it was an easy fix!
Now, if you’re unable to measure your model, you can use their height and that’ll get ya pretty close! But measurements are always best!
Okay, once you figure out your sizes, go ahead and print/project and CUT! I chose to use French terry from Mily Mae Fabrics for the entire outfit. Since it’s a knit, I was tempted to adjust the back width of the High Street Halter to not need elastic—just make it the same length as the elastic measurement for your selected size. If your fabric does NOT have good recovery, though, I would suggest still adding the elastic anyway, so it hugs the body.
Alright! Pieces are CUT, time to sew! Just follow each pattern for basic construction, but skip the waistband on the Bells and the skirt on the peplum (though I guess you could add it, too, if you wanted to be even MORE EXTRA!)


Now that our bodice and bells are constructed, we can attach them together! Turn your bodice inside out and place over the top of your bells. If you are making the same size for both the High Street Halter and Belltown Bells, the front should match up almost perfectly when you line up the side seams. For the back, you have two options: 1! If you are using wovens for the HSH, you can gather the bottom of the bodice to fit the back of the Belltown Bells. If you adjusted the width, it will probably fit perfectly as is. Or 2! Stretch the top of the pant to fit the bodice. It’s kinda like reverse gathering [kinda? Sorta?] since the knit from the Bells will naturally pull in the back bodice. I just stretched to fit and it worked out just fine!

Sew around where the bodice and bottoms meet, and you’re all done! Turn the bodice right side out, hem and topstitch where noted in the patterns (if you haven’t already) and go STRUT YOUR STUFF!

Hope you love this hack! I know we’ll be making more—it’s so quick and simple but has high impact!
Til next time!
~jess w.