
this blog contains affiliate links
Guest Sewist: Agnese
PDF Sewing Patterns being used for this Mash-Up:
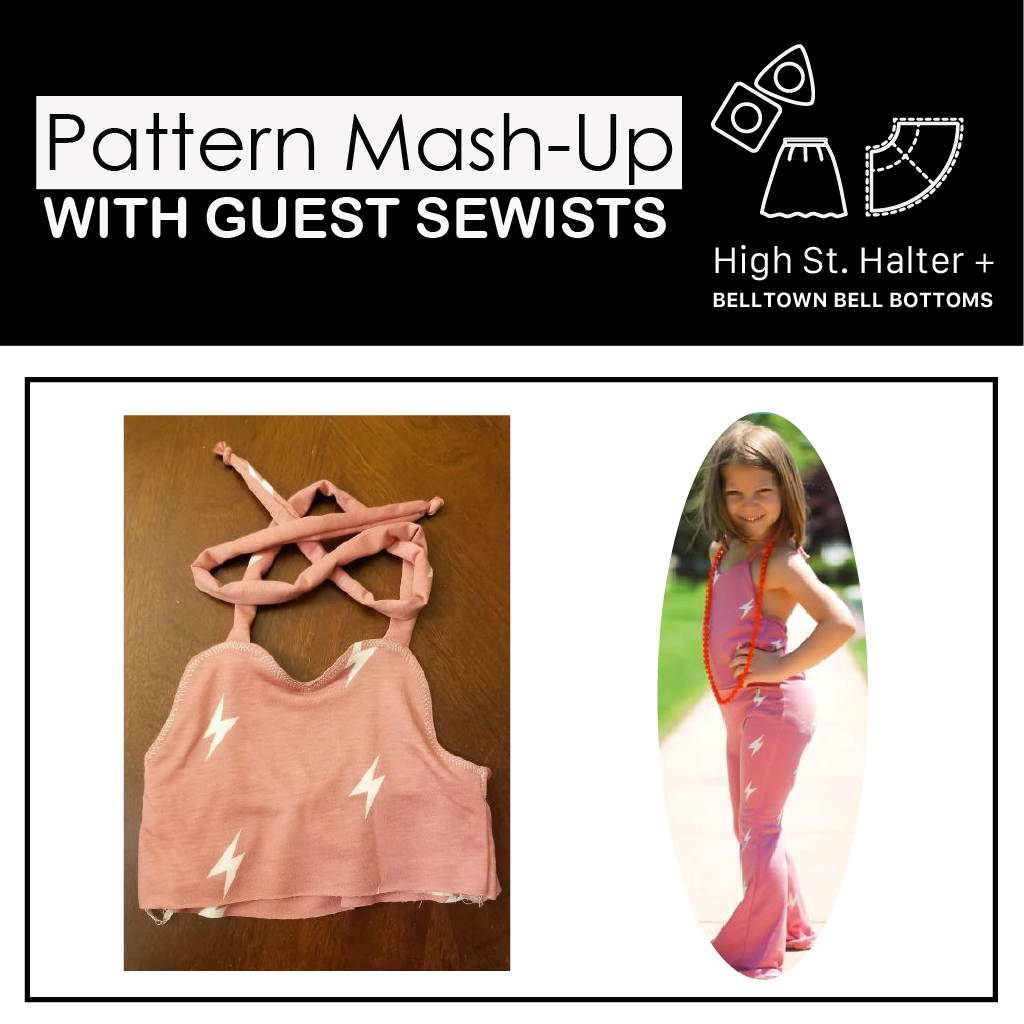
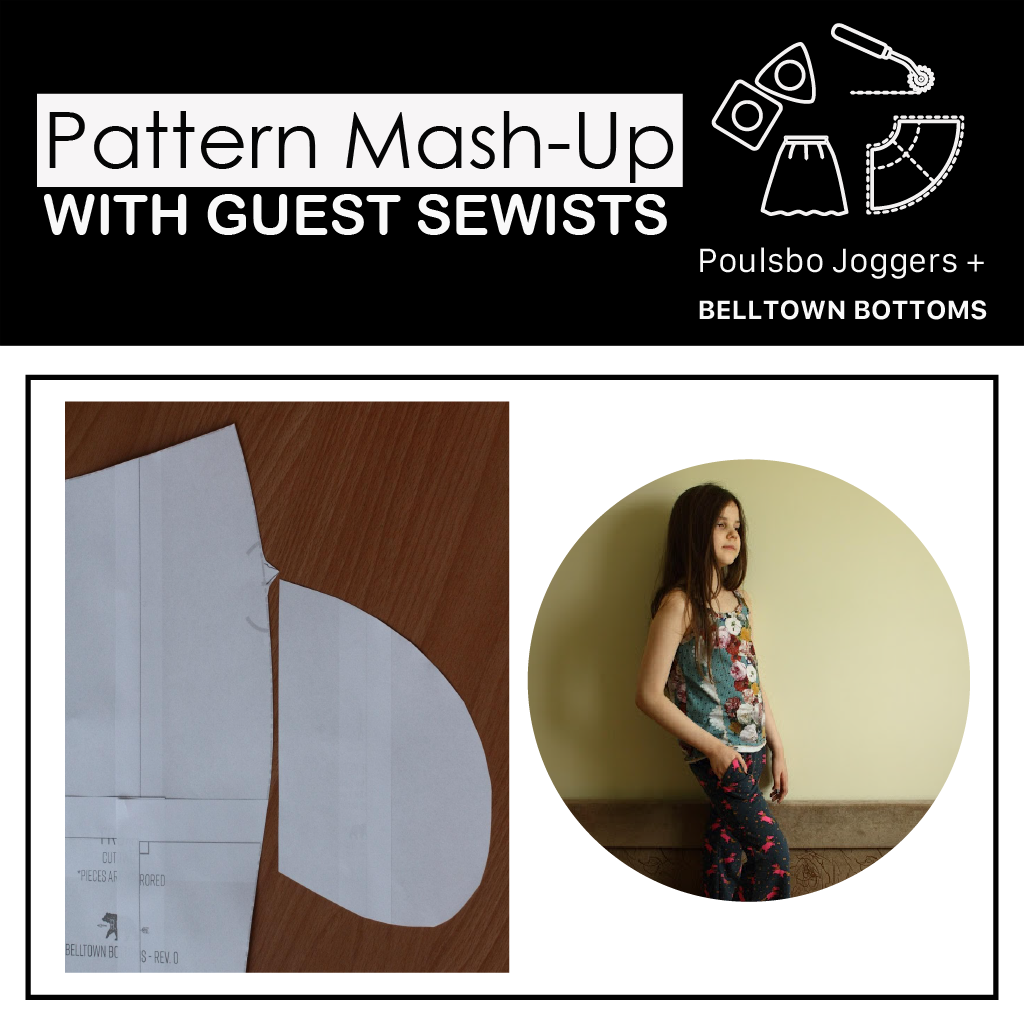
Belltown Bell Bottoms
Poulsbo Joggers
Bells. Pants. Everyone loves bells now, right? At least we do!
Is there a way to make bells even better? Yup, just add pockets! This is exactly what I did here – I took the cool Belltown Bell Bottom pattern and used pockets from Poulsbo Joggers. And because my kid is very tall and skinny, and I always have to add to the rise for her pants, I also used the Poulsbo Joggers’ waistband (Belltown does not come with a waistband).

Now, let me walk you step by step through what I did here.
You will need all the basic things here: Belltown pattern, Poulsbo pattern, 50% four way stretch knit fabric, 1in wide elastic, pins and your favorite sewing machine.
I used cotton lycra to make mine.
So, my daughter is tall and skinny. Her hips and waist put her in size 8, but her height put her in size 12. Since there will be pockets, I decided to print size 10 width (and use 12 length) – there should be some extra room at the hips for the pockets, right?
I usually have to add some extra height to her rise – I will not be doing that here, because I will be using an extra waistband piece and the waistband will be taking care of that and adding to the rise. If you do not need any extra added to the rise and want to use a waistband piece, I recommend shortening the rise on the Belltown pattern piece.
I looked at other pants my daughter has, measured some and decided that what seems to be the best place for the pockets is 3 inches from the top of the pants. To make life easier for me, I placed a small notch on the pattern piece to mark where I want the pocket placement to be. I marked it on both front and back pattern pieces.

I cut the waistband at half the height of what the Poulsbo waistband is – my waistband pattern piece was the same length as that of size 10 Poulsbo, but it was 3.5in tall.
Now, it is time to add the pockets! First, place the pants piece and pocket piece right sides together, place the pocket at the notch you have made. Sew it on. Repeat for all four pattern pieces (two fronts and two backs). Next, for each pattern piece – fold the pocket to the wrong side of your pattern piece, press and topstitch it – seriously, do not skip this step or the pocket will be misbehaving when your child wears their new pants! Do it for all four pattern pieces.
Make sure the pocket bag is facing down (you wouldn’t want it the other way around, trust me, I have done that!).
Now it is time to sew the pants – do it as you normally would (as per Belltown instructions). The only thing I would recommend is using the sewing machine when sewing the pocket curves, although it is somewhat doable using serger only also – it is just kind of tricky. Sewing machine definitely makes it easier.
As I am making pants that are one size bigger than what my daughter’s regular size would be, her waistband needs elastic and the yoga waistband is not enough. I always try the elastic length on her before I sew it on – I always want to make sure it isn’t too tight.
Attach the waistband like you normally would, then leave a small gap at the back, feed through the elastic, sew it in a loop and close the small gap.
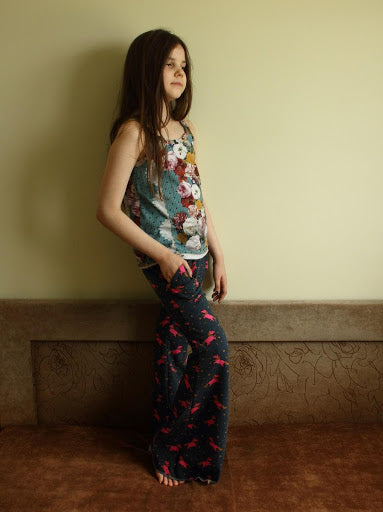
Hem the pants, hand them to your child and enjoy! Now you have the perfect bells – and they have pockets!