I was scrolling endlessly (who don't?) and this body-less bodice popped into my feed.
At a second glance I saw it was a bag but damn, it looked like a bodice.
And just like that LIGHT BULB.
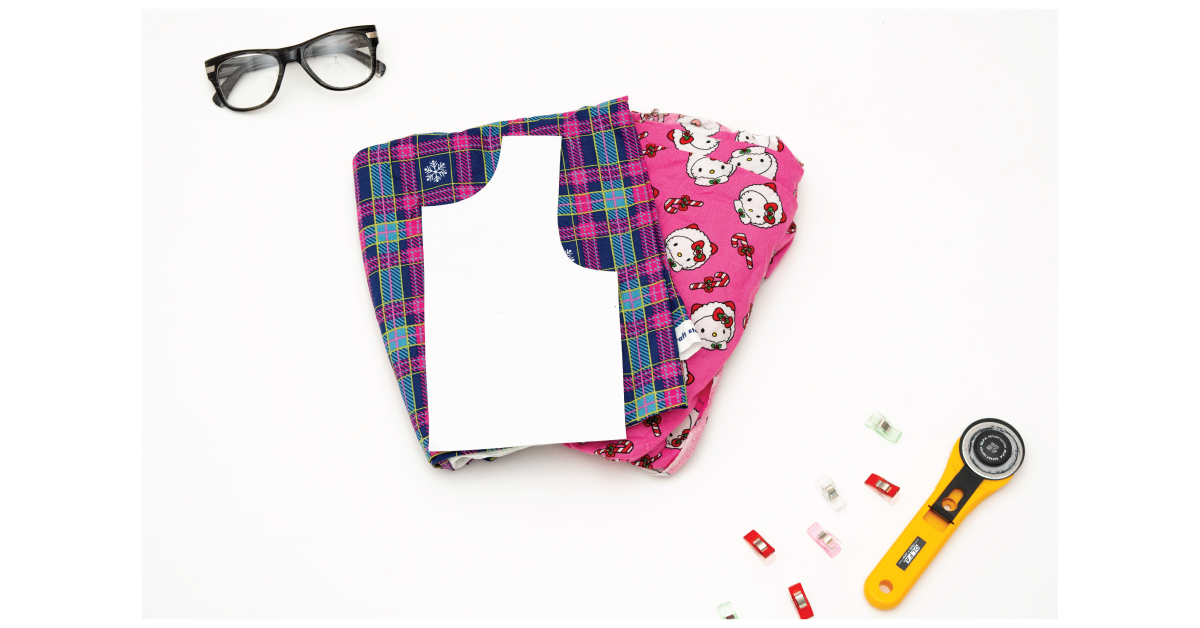
Required supplies:
- Bodice Pattern Piece
- Woven Fabric (in the amount your pattern specifies for the bodice)
- Sewing Machine + Thread
- Safety Glasses
- Scissors or Rotary Blade (plus a cutting mat)
- Iron
- Ruler
- Pins or Clips
- Fabric Chalk

Step 1: Cut out 2 bodice's in an outer fabric (I'm using this Hello Kitty woven fabric) and 2 bodices in a liner fabric.


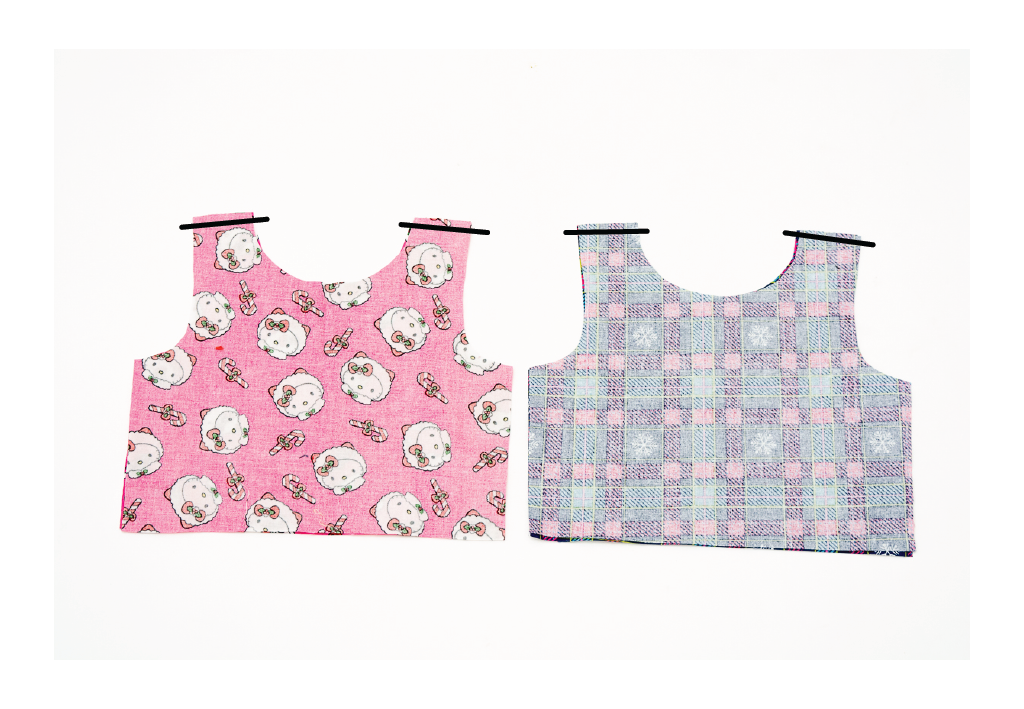
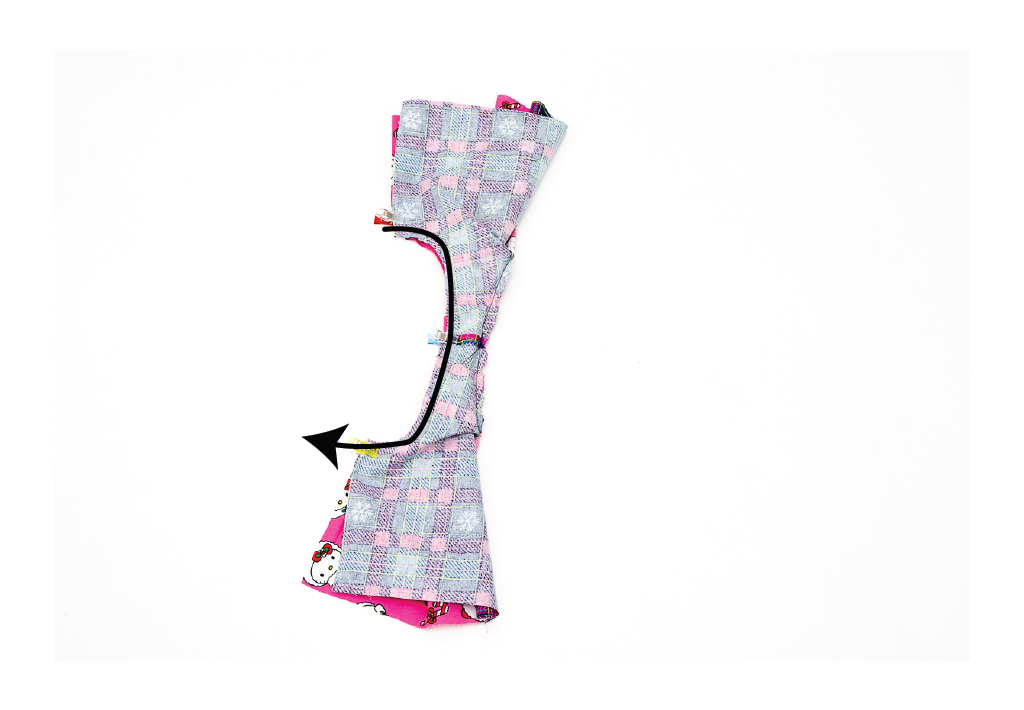
Step 2. Lay RIGHT SIDE TOGETHER the Outer Bodice Pieces and Liner Bodice Pieces. Sew together each set as shown by the black line in the above picture.

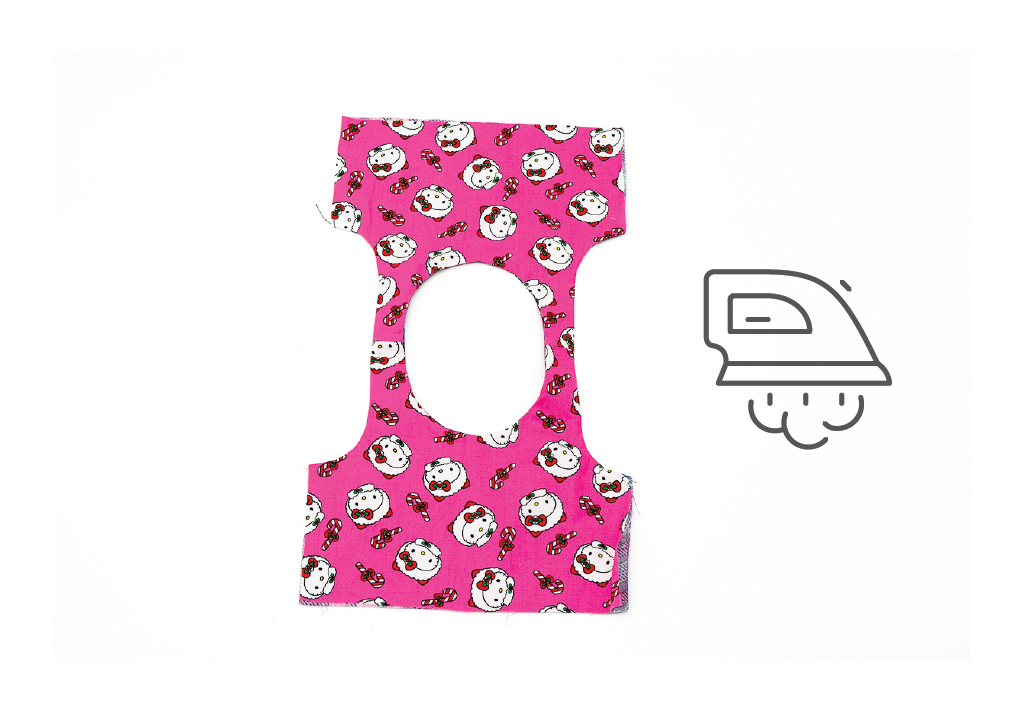
Step 3: Press the seams open.

Step 4. Depending on what size your bodice is you may not need to do this but I'm using a size 2T and the neckline is very high.
If your neckline is very high you will want to cut it lower otherwise your bag may be useless for everything except carrying tangerines (yum).
So, if you're in my situation cut the neckline area lower.
I folded the outer and liner together at the same time so my wonky curve was the same on both pieces.


Step 5: Open the outer bodice up and the liner bodice up.
Lay the outer on top of the liner RIGHT SIDES TOGETHER.
Sew the neckline (see below picture) and then clip the seam allowance (see second picture below).
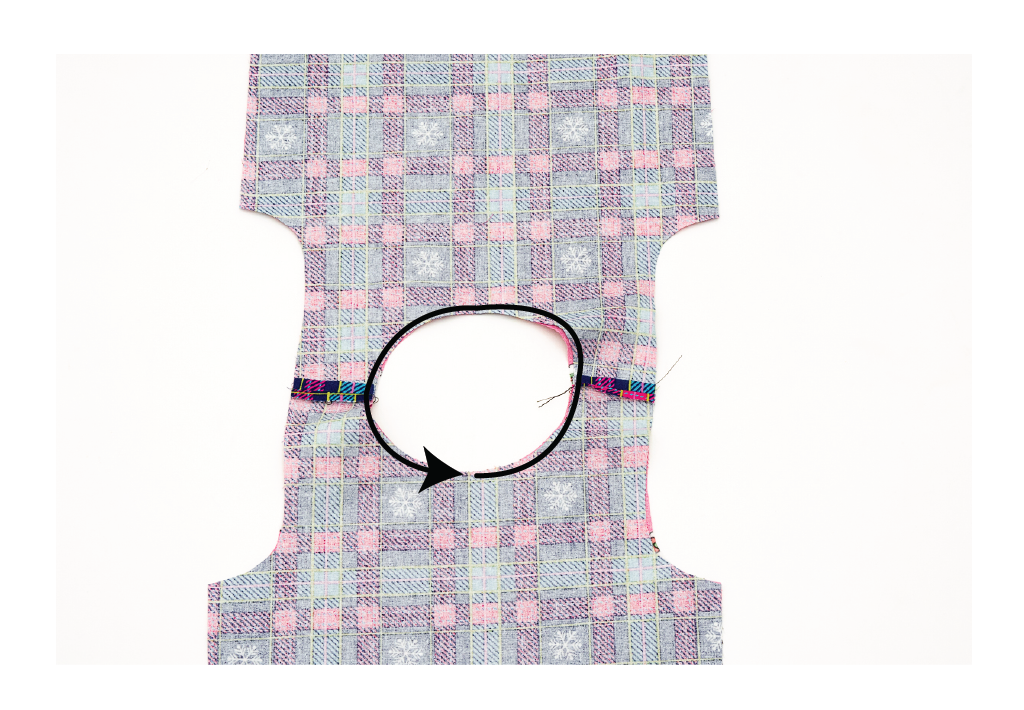


Step 6: Move the outer bodice through the neck hole to turn the bodice RIGHT SIDE OUT and press.


Step 7: Burrito Roll
Open the bodice like the above picture and separate one side of the bodice.
See how the right side you see Hello Kitty? You want your one to be just like this.
Next roll the other side towards the neckline tight like a...uh...just roll it tight.


Keep rolling until you get to the seam where the right side is separated.
Just manipulate the fabric so it's all right side up with the outer and liner pieces separated (see above picture).

Bring the separated bodice pieces around the roll and pin or clip at the seam.
Check out this close up below, make sure that roll is out of the way so you don't sew it.
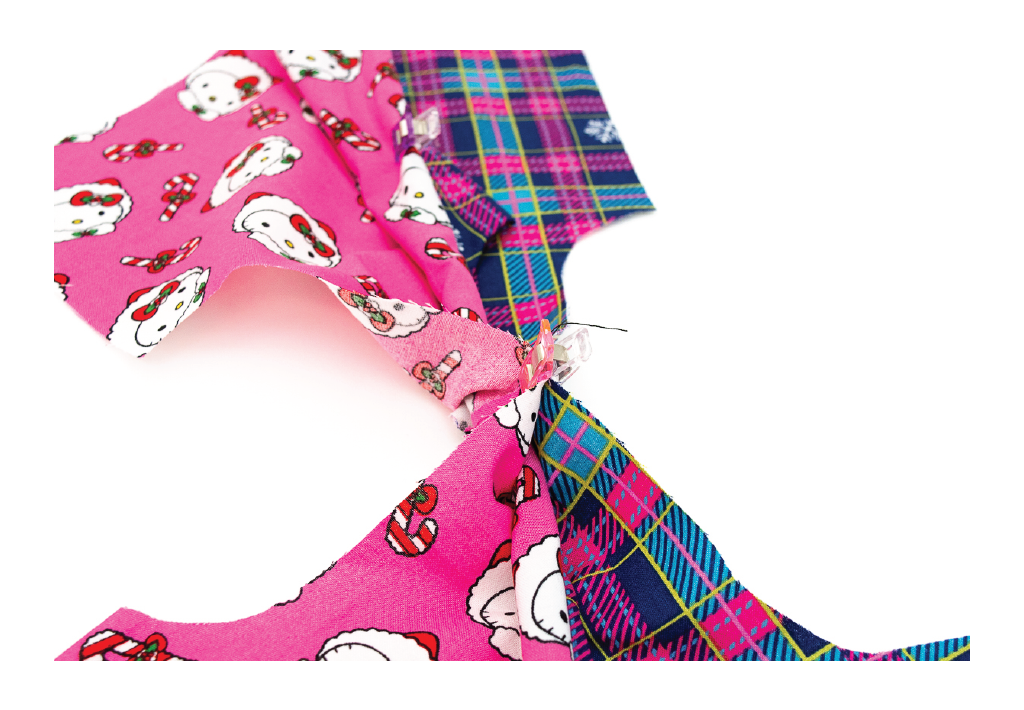

Bring the corners of the armscye around the roll to enclose it completely.
Sew the armscye as shown in the below picture.


Pull the roll out through either side (pick one side).


Great job, now repeat Step 7 on the other side.
Here's some pictures to help you along.



Step 8: Press the bodice.
Separate the outer pieces and the liner pieces.
Line the outer pieces up together RIGHT SIDES TOGETHER.
Liner the liner pieces up together RIGHT SIDES TOGETHER.
Sew the liners together and the outers together on each size (see below picture) MAKE SURE TO LEAVE AN OPENING ABOUT 3"-4" WIDE TO TURN THE BAG OUT.


Step 9: Turn the bag right side out and close the hole with either a ladder stitch or just pinch it closed and sew, sure it sticks up that way but it's the liner so who cares?
I don't.

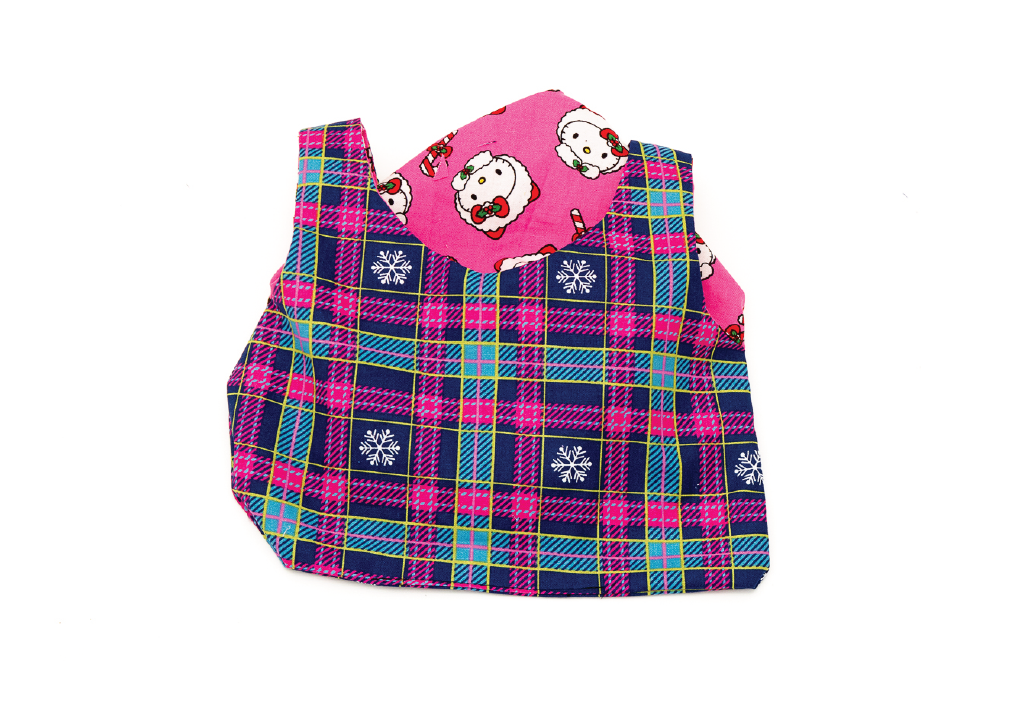

And that's it! You just made a cute little bag that can hold at least 2 apples...may be 4 tangerines if you didn't open up that neck hole...but that's cool, too!
BUT WAIT!
WHAT'S THIS???
AN ALTERNATIVE ENDING?!
Oh yes, here we go picking up after Step 8 but this time we're making this bag more 3-D.
Alternative Step 9:
Flatten the liner and outer pieces at the corners (all 4). Press the corner into submission with a hot steamy iron.
Make sure the seams are lined up (there will be 2 on each corner).
Measure from the corner into the red line 1-1/2" and make your own line with the fabric chalk.
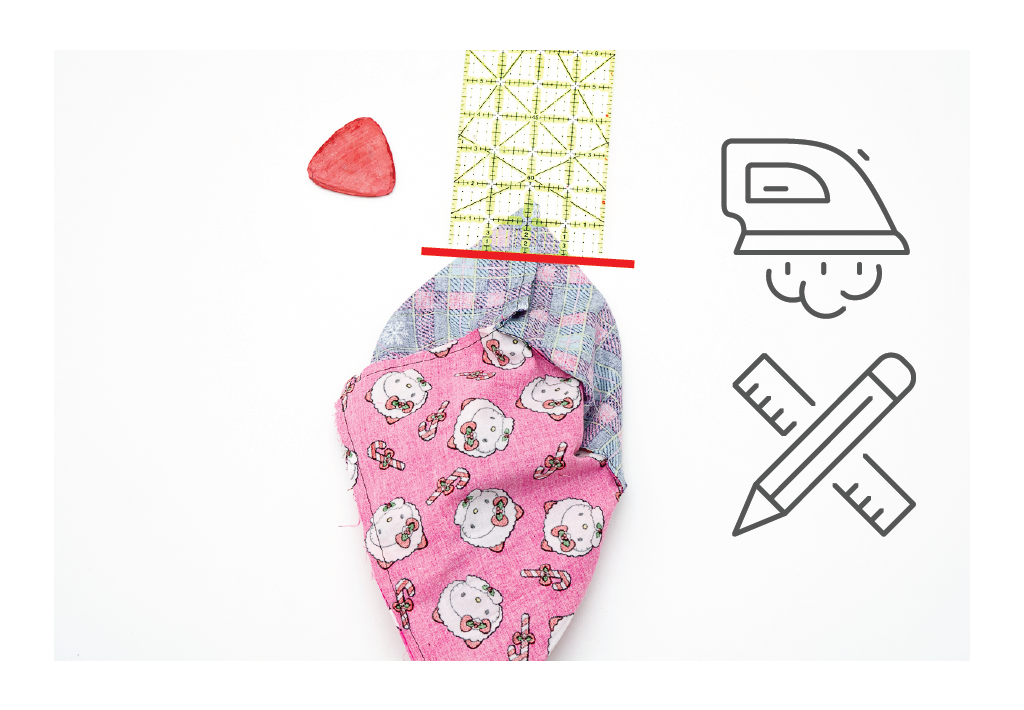

Pin the corners at the line and then sew each corner with a straight stitch at the lines (all 4).

Step 10: Turn the bag right side out and close the hole with either a ladder stitch or just pinch it closed and sew. (I still don't care if it sticks up).


Okay, that's it! I hope you enjoyed this little DIY!
I've linked the pattern from which this bodice is from.
